


|
Transaction Entry
The transaction entry screen is main screen from which the following tasks are performed.
The screen of Transaction Entry can also be accessed from the main menu.
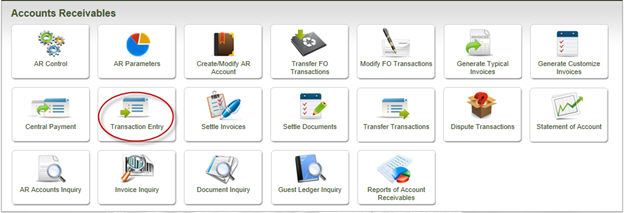
The following screen is loaded
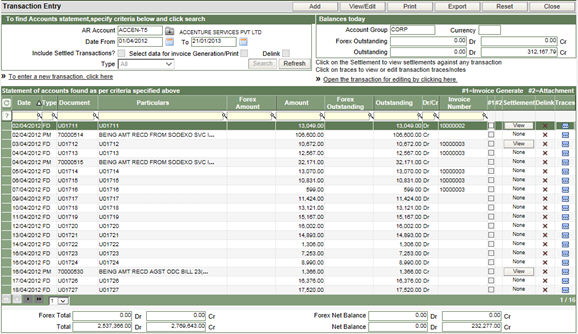
This is the Transaction Entry inquiry screen which can be used to locate/view transactions already posted for a specific AR Account.
The top left of the screen is the area in which the search filters can be entered and click on the Search button to list the matching transactions.
The top right of the screen displays the Balances as on the current date for the Account group to which the selected AR Account belongs.
The information displayed in the grid for each record are:
|
S.no |
Column Name |
Description |
|
1 |
Date |
The transaction date. |
|
2. |
Type |
The type of transactions. Payment/Invoice/Debit Note or Credit Note |
|
3. |
Document |
The unique transaction number generated by the system. |
|
4. |
Particulars |
The Particulars as entered by the user while recording the transaction. |
|
5. |
Forex amount |
The transaction amount in Foreign currency, if any. |
|
6. |
Amount |
The transaction amount in local currency |
|
7. |
Forex Outstanding |
The amount outstanding in foreign currency, if any. |
|
8. |
Outstanding |
The amount outstanding in local currency. |
|
9. |
Dr/Cr |
The debit or credit indicator of the transaction. |
|
10. |
Invoice Number |
The bill/invoice number generated for the transaction. |
|
11. |
Settlement |
This column displays a View button if there has been any settlement for the transaction. Click the View button to see the settlement of the transaction. |
|
12. |
Delink |
This column changes to a button, to delink a settlement. |
|
14. |
Traces |
Click the small icon in this column to load another window, where traces for the transaction can be recorded.
On saving the traces, this
column will display a tick |

 symbol,
indicating that there are traces recorded for the transaction.
symbol,
indicating that there are traces recorded for the transaction.
By default the records displayed are the ones that are yet to be settled. Therefore, if you wish to view the settled transactions as well then the option of – Include settled, present in the top left of the screen should be ticked, before clicking the Search button.
Settled transactions can also be delinked if there is any error in settlement.
1. While entering the search filters, also tick the option of Delink, present in the top left of the screen.
2. Click the Search button to list the matching records.
3. The Delink column will display a button with a label of View.
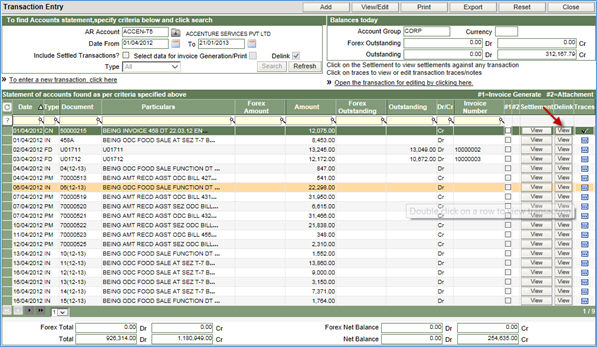
4. Click the View button, which will open another window displaying the record with which the selected transaction has been settled.

5. Tick the checkbox in the Delink column and click Save & Close button on top of the screen.
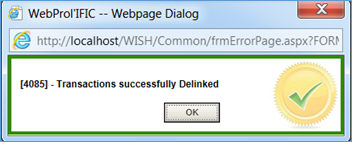
6. The following message confirms that the delink process has been done successfully.
The action buttons are displayed in the top of the screen, which are:
-
Add – to create a new record for Payment/Invoice/Debit/Credit Note
-
View/Edit – to open an existing record for editing or viewing.
-
Print – To print the Statement of Account of the selected AR Account.
-
Reset – this button is used to bring back the original status of the screen.
Close – to close and exit from the screen.
